
There are multiple ways to view an open check to modify it - these are each done from the Restaurant Start page section of the Point of Sale (POS) Menu and all will take you to the Restaurant Check page:
Note: Any time you are on the restaurant start page you will need to enter your Server Quick ID button before you can do anything else.
Table: Use the Table button to choose a different table.
Upon clicking a drop-down menu will appear on the right side of the screen, listing all available options (tables, booths, patio, high tops etc). Scroll up or down to desired choice.
Blue is current selection, available selections are in green and red indicates a table not available (has a currently open check already).
This allows you to change the table or even the location for the open check.
Seat: Use the Seat button drop-down menu to specify a seat position associated with a particular order/items ordered.
This is a useful option when multiple guests are sitting at a table on the same check. The default option is one.
Seats can be selected when adding items.
Covers: Use the Covers pull down box to enter the number of customers to be included on this check.
Note:You can have multiple checks for each table if needed, however each check will have their own Restaurant Check screen for modifications.
Server name: Use the server pull down menu to change the server allocated to the check. By default this displays the server who opened the check.
Use Meal Period to modify the chosen time for the check. By default this displays the option chosen on the main restaurant start page.
Note: Keep in mind that the Meal Period determines what menu items are available to post to the check.
Restaurant: Use the Restaurant button to modify the chosen location for the check. By default this displays the option chosen on the main restaurant start page.
Default Order: A different set of default starting options can be set via the configuration options if desired; if so, this drop-down list will include the option to switch to a different order. Otherwise, it only contains one option.
Checks: All checks currently open for the table are listed in the Checks list and can each be selected to view or modify.
Note: If you are using the Quick Sale screen, all currently open checks appear in the Checks list.
Use the New button under the Checks list to add a New Check for the table. This is useful if the table wants separate checks generated for their meal.
If a check has a zero balance, select the check from the list and click the Delete button located below the list.

An empty check can also be removed by clicking the close check button on the right of the screen.

If the check is newly opened, there will only be the one check available (called New), displayed on the left hand side of the restaurant check menu, under the heading Checks.
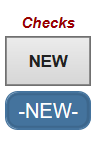
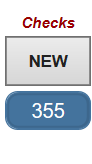
In this case any food/beverages selected will automatically post to this check. As soon as anything has posted to the check, it will be listed by check number.
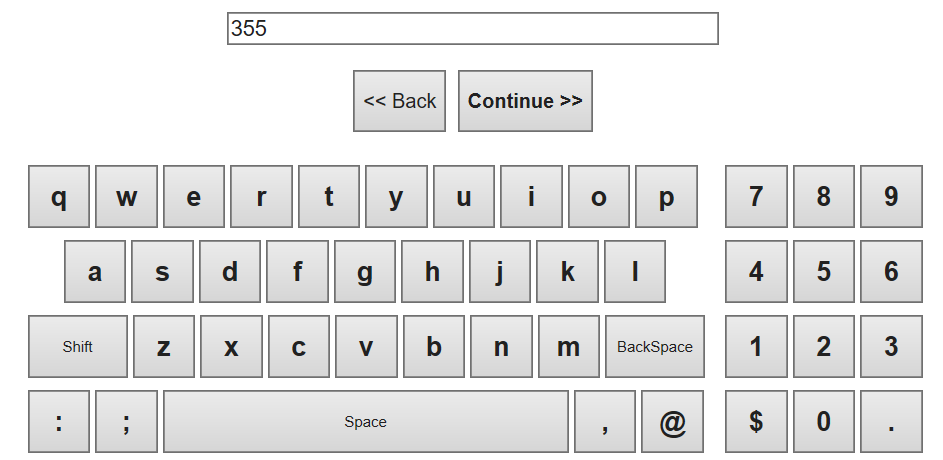
The check name can be edited at any time, before or after posting anything to it. Click on the check button to be taken to a screen to edit the name.
You can also generate a new check at any time by clicking the new button. This will generate another check in sequential numerical order below the current open checks.
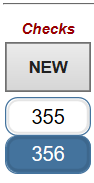
These open checks can be toggled between to select an open check from. Any check name can be edited by clicking on it when it is the check currently displayed on screen.
Menu Items tab Use this tab to select food and beverage items for the order and Post each to the check. Add, Remove or Reorder Menu Items from an Open Check
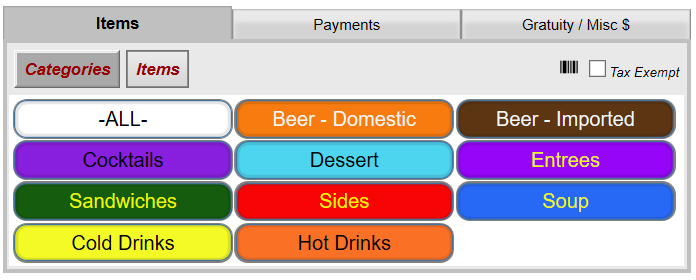
If the UPC of an item needs to be manually entered, click on theBar Code Icon on the upper right side of the items menu box.
Payments tabUse this tab to receive and post payments to the check.
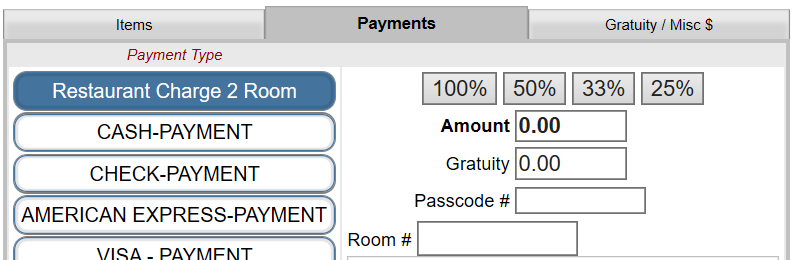
See Applying Payments to an Open Check.
Gratuity/Misc $ tabUse this tab to add an automatic gratuity and/or discount to the check. This can be done in either currency amount or as a percentage of the check.

See Applying Discounts or Gratuities to an Open Check.
Use the Post button, central to the screen and just to the left of the check display, to post any changes to the check, including menu items, payments, and gratuity/discounts to the check.
Use the Delete Item(s) button to remove items from the check. In the Postings list, click on the item to be removed, and click Delete Item(s). To click multiple items, hold down the Shift key while selecting each item. Void items?
NOTE: The options available in the POS Check interface are determined by how the POS system is configured, and the options created for the system. If you are having trouble finding the items you need or configuring customer orders easily, contact your manager and/or system administrator. They may be able to adjust the POS configuration to provide more appropriate options.